Integrating Nifty GUI: Projection
Typically you define a key (for example escape) to switch the GUI on and off. Then you overlay the running game with the GUI (you will most likely pause the game then).
Alternatively, you can also project the GUI as a texture onto a mesh textures inside the game. Although this looks cool and “immersive”, this approach is rarely used since it is difficult to record clicks this way. You can only interact with this projected GUI by keyboard, or programmatically. You can select input fields using the arrow keys, and trigger actions using the return key.
This GUI projection variant is less commonly used than the GUI overlay variant. Usecases for GUI projection are, for example, a player avatar using an in-game computer screen.
Projecting the User Interface Onto a Texture
You can project the Nifty GUI onto a texture, load the texture into a material, and assign it to a Geometry (Quads or Boxes are best).
/** Create a special viewport for the Nifty GUI */
ViewPort niftyView = renderManager.createPreView("NiftyView", new Camera(1024, 768));
niftyView.setClearEnabled(true);
/** Create a new NiftyJmeDisplay for the integration */
NiftyJmeDisplay niftyDisplay = NiftyJmeDisplay.newNiftyJmeDisplay(
assetManager, inputManager, audioRenderer, niftyView);
/** Create a new NiftyGUI object */
Nifty nifty = niftyDisplay.getNifty();
/** Read your XML and initialize your custom ScreenController */
nifty.fromXml("Interface/helloworld.xml", "start", new MySettingsScreen(data));
/** Prepare a framebuffer for the texture niftytex */
niftyView.addProcessor(niftyDisplay);
FrameBuffer fb = new FrameBuffer(1024, 768, 0);
fb.setDepthBuffer(Format.Depth);
Texture2D niftytex = new Texture2D(1024, 768, Format.RGB8);
fb.setColorTexture(niftytex);
niftyView.setClearEnabled(true);
niftyView.setOutputFrameBuffer(fb);
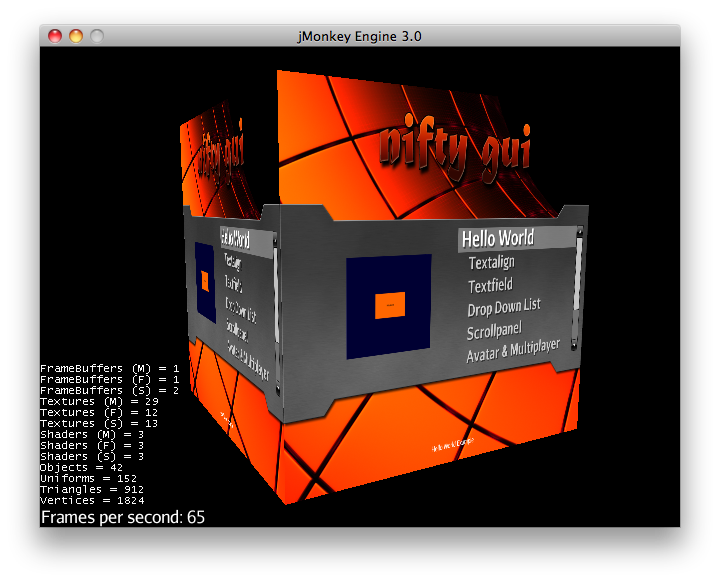
/** This is the 3D cube we project the GUI on */
Box b = new Box(Vector3f.ZERO, 1, 1, 1);
Geometry geom = new Geometry("Box", b);
Material mat = new Material(assetManager, "Common/MatDefs/Misc/Unshaded.j3md");
mat.setTexture("m_ColorMap", niftytex); /** Here comes the texture! */
geom.setMaterial(mat);
rootNode.attachChild(geom);The MySettingsScreen class is a custom de.lessvoid.nifty.screen.ScreenController in which you implement your GUI behaviour. The variable data contains an object that you use to exchange state info with the game. See Nifty GUI Java Interaction for details on how to create this class.
Run the code sample. You select buttons on this GUI with the arrow keys and then press return. Note that clicking on the texture will not work!