Bloom and Glow
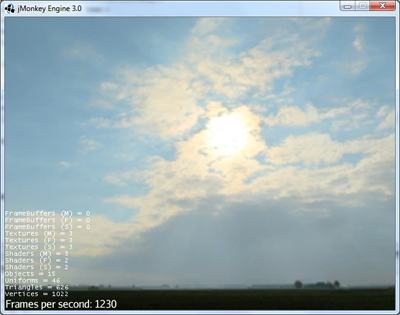
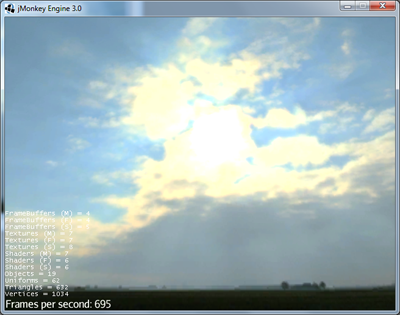
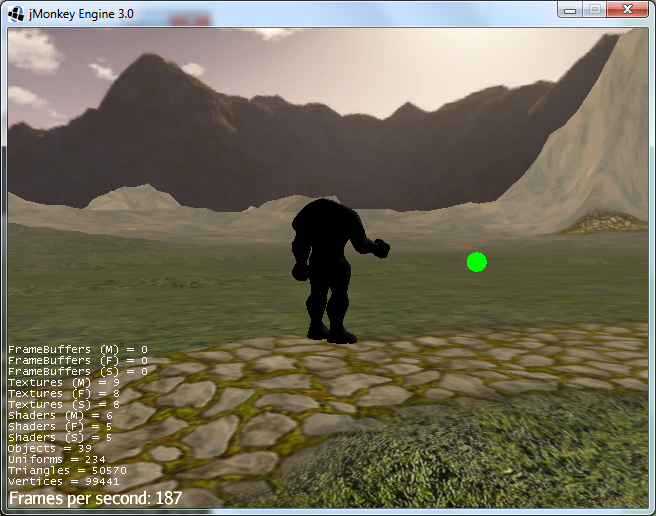
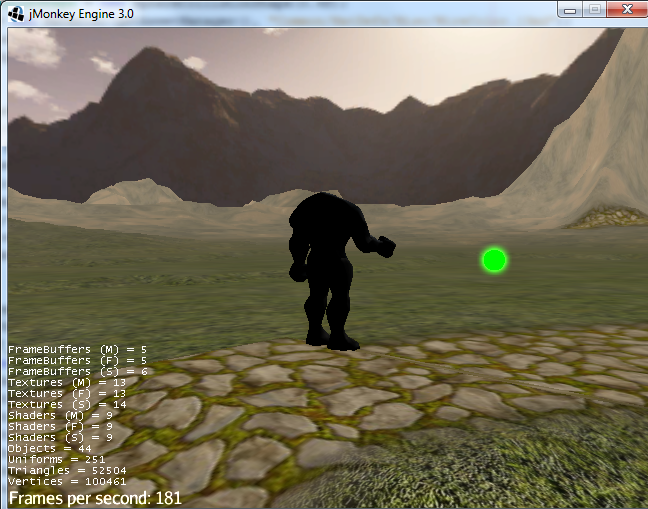
Bloom is a popular shader effect in 3D games industry. It usually consist in displaying a glowing halo around light sources or bright areas of a scene. In practice, the bright areas are extracted from the rendered scene, blurred and finally added up to the render.
Those images gives an idea of what bloom does. The left image has no bloom effect, the right image does.
Bloom Usage
-
Create a FilterPostProcessor
-
Create a BloomFilter
-
Add the filter to the processor
-
Add the processor to the viewPort
 FilterPostProcessor fpp=new FilterPostProcessor(assetManager);
 BloomFilter bloom=new BloomFilter();
 fpp.addFilter(bloom);
 viewPort.addProcessor(fpp);
Here are the parameters that you can tweak :
| Parameter | Method | Default | Description |
|---|---|---|---|
blur scale |
|
1.5f |
the scale of the bloom effect, but be careful, high values does artifacts |
exposure Power |
|
5.0f |
the glowing channel color is raised to the value power |
exposure cut-off |
|
0.0f |
the threshold of color to bloom during extraction |
bloom intensity |
|
2.0f |
the resulting bloom value is multiplied by this intensity |
You’ll probably need to adjust those parameters depending on your scene.
Bloom with a glow map
Sometimes, you want to have more control over what glows and does not glow. The bloom filter supports a glow map or a glow color.
Creating a glow-map
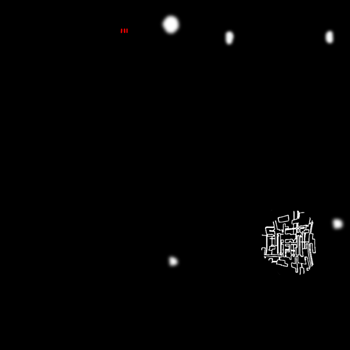
Let’s take the hover tank example bundled with JME3 test data.
Here you can see the diffuse map of the tank, and the associated glow map that only contains the parts of the texture that will glow and their glowing color:

Glow maps work with Lighting.j3md, Particles.j3md and Unshaded.j3md material definitions. The tank material looks like this :
Material My Material : Common/MatDefs/Light/Lighting.j3md {
     MaterialParameters {
        SpecularMap : Models/HoverTank/tank_specular.png
        Shininess : 8
        NormalMap : Models/HoverTank/tank_normals.png
        DiffuseMap : Models/HoverTank/tank_diffuse.png
        GlowMap : Models/HoverTank/tank_glow_map_highres.png
        UseMaterialColors : true
        Ambient  : 0.0 0.0 0.0 1.0
        Diffuse  : 1.0 1.0 1.0 1.0
        Specular : 1.0 1.0 1.0 1.0
     }
}
The glow map is defined here : GlowMap : Models/HoverTank/tank_glow_map_highres.png
Usage
-
Create a FilterPostProcessor
-
Create a BloomFilter with the GlowMode.Objects parameter
-
Add the filter to the processor
-
Add the processor to the viewPort
FilterPostProcessor fpp=new FilterPostProcessor(assetManager);
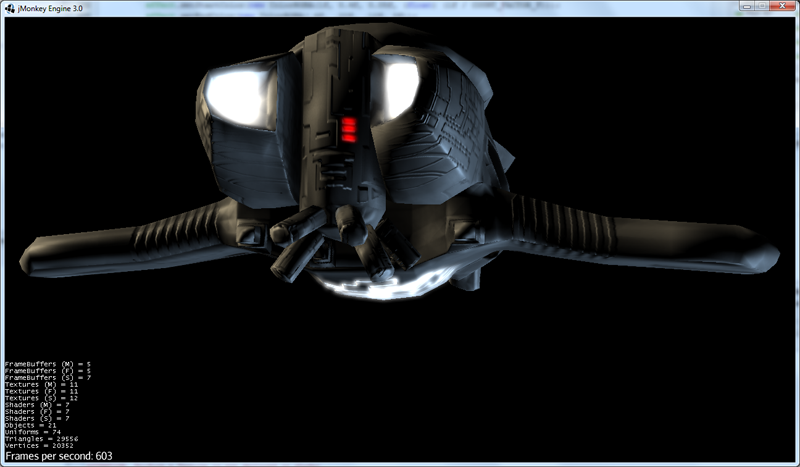
BloomFilter bf=new BloomFilter(BloomFilter.GlowMode.Objects);
fpp.addFilter(bf);
viewPort.addProcessor(fpp);Here is the result :
Bloom with a glow color
Sometimes you need an entire object to glow, not just parts of it. In this case you’ll need to use the glow color parameter.
Usage
-
Create a material for your object and set the GlowColor parameter
-
Create a FilterPostProcessor
-
Create a BloomFilter with the GlowMode.Objects parameter
-
Add the filter to the processor
-
Add the processor to the viewPort
    Material mat = new Material(getAssetManager(), "Common/MatDefs/Misc/Unshaded.j3md");
    mat.setColor("Color", ColorRGBA.Green);
    mat.setColor("GlowColor", ColorRGBA.Green);
    fpp=new FilterPostProcessor(assetManager);
    bloom= new BloomFilter(BloomFilter.GlowMode.Objects);
    fpp.addFilter(bloom);
    viewPort.addProcessor(fpp);
Here is the result on Oto’s plasma ball (before and after) :
Hints and tricks
Increasing the blur range and reducing fps cost
The glow render is sampled on a texture that has the same dimensions as the viewport.
You can reduce the size of the bloom sampling just by using the setDownSamplingFactor method like this :
 BloomFilter bloom=new BloomFilter();
 bloom.setDownSamplingFactor(2.0f);
In this example the sampling size is divided by 4 (width/2,height/2), resulting in less work to blur the scene. The resulting texture is then up sampled to the screen size using hardware bilinear filtering. this results in a wider blur range.
Using classic bloom combined with a glow map
let’s say you want a global bloom on your scene, but you have also a glowing object on it. You can use only one bloom filter for both effects like that
BloomFilter bloom=new BloomFilter(BloomFilter.GlowMode.SceneAndObjects);However, note that both effects will share the same values of attribute, and sometimes, it won’t be what you need.
Making your home brewed material definition support Glow
Let’s say you have made a custom material on your own, and that you want it to support glow maps and glow color. In your material definition you need to add those lines in the MaterialParameters section :
 MaterialParameters {

        ....

        // Texture of the glowing parts of the material
        Texture2D GlowMap
        // The glow color of the object
        Color GlowColor
    }
Then add the following technique :
    Technique Glow {

        LightMode SinglePass

        VertexShader GLSL100:   Common/MatDefs/Misc/SimpleTextured.vert
        FragmentShader GLSL100: Common/MatDefs/Light/Glow.frag

        WorldParameters {
            WorldViewProjectionMatrix
        }

        Defines {
            HAS_GLOWMAP : GlowMap
            HAS_GLOWCOLOR : GlowColor
        }
    }
Then you can use this material with the BloomFilter