Particle Emmitter Settings
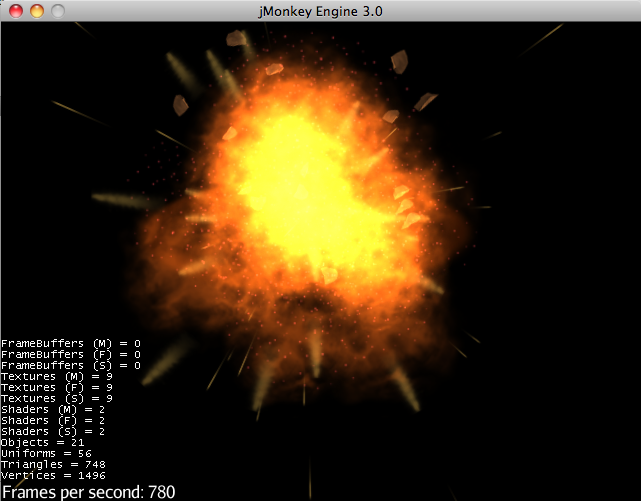
You cannot create a 3D model for delicate things like fire, smoke, or explosions. Particle Emitters are quite an efficient solution to create these kinds of effects: The emitter renders a series of flat orthogonal images and manipulates them in a way that creates the illusion of a anything from a delicate smoke cloud to individual flames, etc. Creating an effect involves some trial and error to get the settings just right, and it’s worth exploring the expressiveness of the options described below.
|
Use the Scene Explorer in the SDK to design and preview effects. |
Create an Emitter
-
Create one emitter for each effect:
ParticleEmitter explosion = new ParticleEmitter( "My explosion effect", Type.Triangle, 30); -
Attach the emitter to the rootNode and position it in the scene:
rootNode.attachChild(explosion); explosion.setLocalTranslation(bomb.getLocalTranslation()); -
Trigger the effect by calling
explosion.emitAllParticles() -
End the effect by calling
explosion.killAllParticles()
Choose one of the following mesh shapes
-
Type.Triangle
-
Type.Point
Configure Parameters
Not all of these parameters are required for all kinds of effects. If you don’t specify one of them, a default value will be used.
| Parameter | Method | Default | Description |
|---|---|---|---|
number |
|
The maximum number of particles visible at the same time. Specified by user in constructor. |
|
emission rate |
|
20 |
Density of the effect, how many new particles are emitted per second. |
size |
|
0.2f, 2f |
The radius of the scaled sprite image. Set both to same value for constant size effect. |
color |
|
gray |
Controls how the opaque (non-black) parts of the texture are colorized. |
direction/velocity |
|
Vector3f(0,0,0) |
A vector specifying the initial direction and speed of particles. The longer the vector, the faster. |
fanning out |
|
0.2f |
How much the direction ( |
direction |
|
false |
true = Flying particles pitch in the direction they’re flying (e.g. missiles). |
direction |
|
Vector3f.NAN |
Vector3f = Flying particles face in the given direction (e.g. horizontal shockwave faces up = Vector3f.UNIT_Y). |
lifetime |
|
3f, 7f |
The time period before a particle fades is set to a random value between minimum and maximum; minimum must be smaller than maximum. A minimum < 1f makes the effect more busy, a higher minimum looks more steady. Use a maximum < 1f for short bursts, and higher maxima for long lasting swarms or smoke. Set maximum and minimum to similar values to create an evenly spaced effect (e.g. fountain), set the to very different values to create a distorted effect (e.g. fire with individual long flames). |
spinning |
|
0f |
0 = Flying particles don’t spin while flying (e.g. smoke, insects, controlled projectiles). |
rotation |
|
false |
true = The particle sprite is rotated at a random angle when it is emitted (e.g. explosion, debris). |
gravity |
|
Vector3f(0.0f,0.1f,0.0f) |
Particles fall in the direction of the vector (e.g. debris, sparks). |
start area |
|
EmitterPointShape() |
By default, particles are emitted from the emitters location (a point). You can increase the emitter shape to occupy a sphere, so that the start point of new particles can be anywhere inside the sphere, which makes the effect a bit more irregular. |
Build up your effect by specifying one parameter after the other. If you change several parameters at the same time, it’s difficult to tell which of the values caused which outcome.
Create an Effect Material
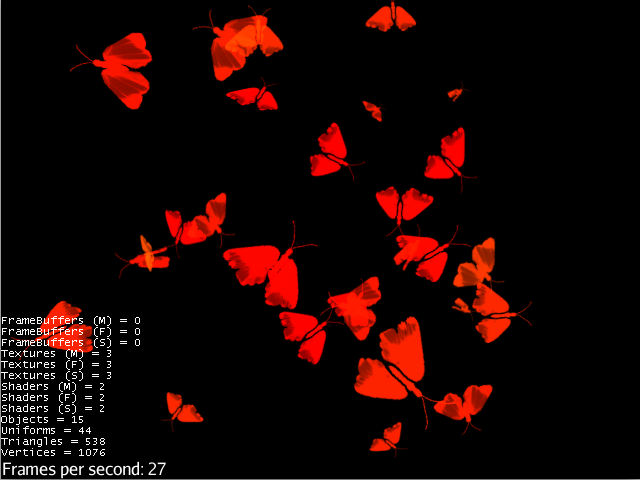
Use the common Particle.j3md Material Definition and a texture to specify the shape of the particles. The shape is defined by the texture you provide and can be anything – debris, flames, smoke, mosquitoes, leaves, butterflies… be creative.
    Material flash_mat = new Material(
        assetManager, "Common/MatDefs/Misc/Particle.j3md");
    flash_mat.setTexture("Texture",
        assetManager.loadTexture("Effects/Explosion/flash.png"));
    flash.setMaterial(flash_mat);
    flash.setImagesX(2); // columns
    flash.setImagesY(2); // rows
    flash.setSelectRandomImage(true);
The effect texture can be one image, or contain a sprite animation – a series of slightly different pictures in equally spaced rows and columns. If you choose the sprite animation:
-
Specify the number of rows and columns using setImagesX(2) and setImagesY().
-
Specify whether you want to play the sprite series in order (animation), or at random (explosion, flame), by setting setSelectRandomImage() true or false.
Examples: Have a look at the following default textures and you will see how you can create your own sprite textures after the same fashion.
Default Particle Textures
The Material is used together with grayscale texture: The black parts will be transparent and the white parts will be opaque (colored).
The following effect textures are available by default from test-data.jar. You can also load your own textures from your assets directory.
| Texture Path | Dimension | Preview |
|---|---|---|
Effects/Explosion/Debris.png |
3*3 |
|
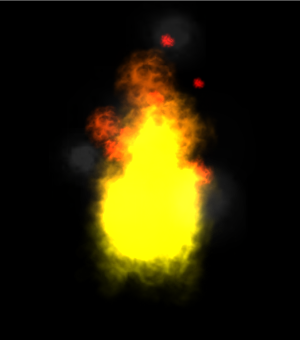
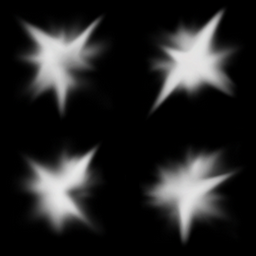
Effects/Explosion/flame.png |
2*2 |
|
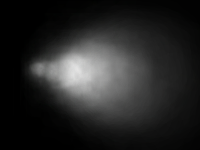
Effects/Explosion/flash.png |
2*2 |
|
Effects/Explosion/roundspark.png |
1*1 |
|
Effects/Explosion/shockwave.png |
1*1 |
|
Effects/Explosion/smoketrail.png |
1*3 |
|
Effects/Explosion/spark.png |
1*1 |
|
Effects/Smoke/Smoke.png |
1*15 |
|
|
Use the |
Usage Example
    ParticleEmitter fire = new ParticleEmitter("Emitter", Type.Triangle, 30);
    Material mat_red = new Material(assetManager, "Common/MatDefs/Misc/Particle.j3md");
    mat_red.setTexture("Texture", assetManager.loadTexture("Effects/Explosion/flame.png"));
    fire.setMaterial(mat_red);
    fire.setImagesX(2); fire.setImagesY(2); // 2x2 texture animation
    fire.setEndColor(  new ColorRGBA(1f, 0f, 0f, 1f));   // red
    fire.setStartColor(new ColorRGBA(1f, 1f, 0f, 0.5f)); // yellow
    fire.getParticleInfluencer().setInitialVelocity(new Vector3f(0,2,0));
    fire.setStartSize(1.5f);
    fire.setEndSize(0.1f);
    fire.setGravity(0,0,0);
    fire.setLowLife(0.5f);
    fire.setHighLife(3f);
    fire.getParticleInfluencer().setVelocityVariation(0.3f);
    rootNode.attachChild(fire);
Browse the full source code of all effect examples here.
See also: Effects Overview